Welcome to Send Unlimited Email Web Mailer! This blog will walk you through all the features and functionalities of the platform, including how to configure SMTP, set up bounce servers, manage clients, create email campaigns, and improve email delivery. We’ve designed this guide to be user-friendly, ensuring that even beginners can understand and effectively use our platform.
Key Features of Send Unlimited Email Web Mailer
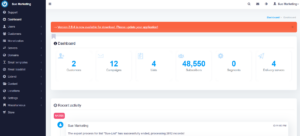
- Dashboard: Get a quick overview of your email marketing activity, including customers, campaigns, lists, subscribers, and delivery servers.
- Users: Manage user accounts for team members or clients.
- Customers: Add and manage your customers.
- Monetization: Configure pricing and billing options for your services.
- Servers:
- Delivery servers
- Bounce servers
- Feedback loop servers
- Email box monitors
- Warmup plans
- Domains: Add and verify sending and tracking domains.
- Email Templates: Create, manage, and categorize email templates.
- Email Blacklist: Manage blacklisted email addresses.
- Content Management: Organize files and categories.
- Campaigns: Schedule and manage email campaigns.
How to Configure SMTP in Send Unlimited Email Web Mailer
- Navigate to Servers:
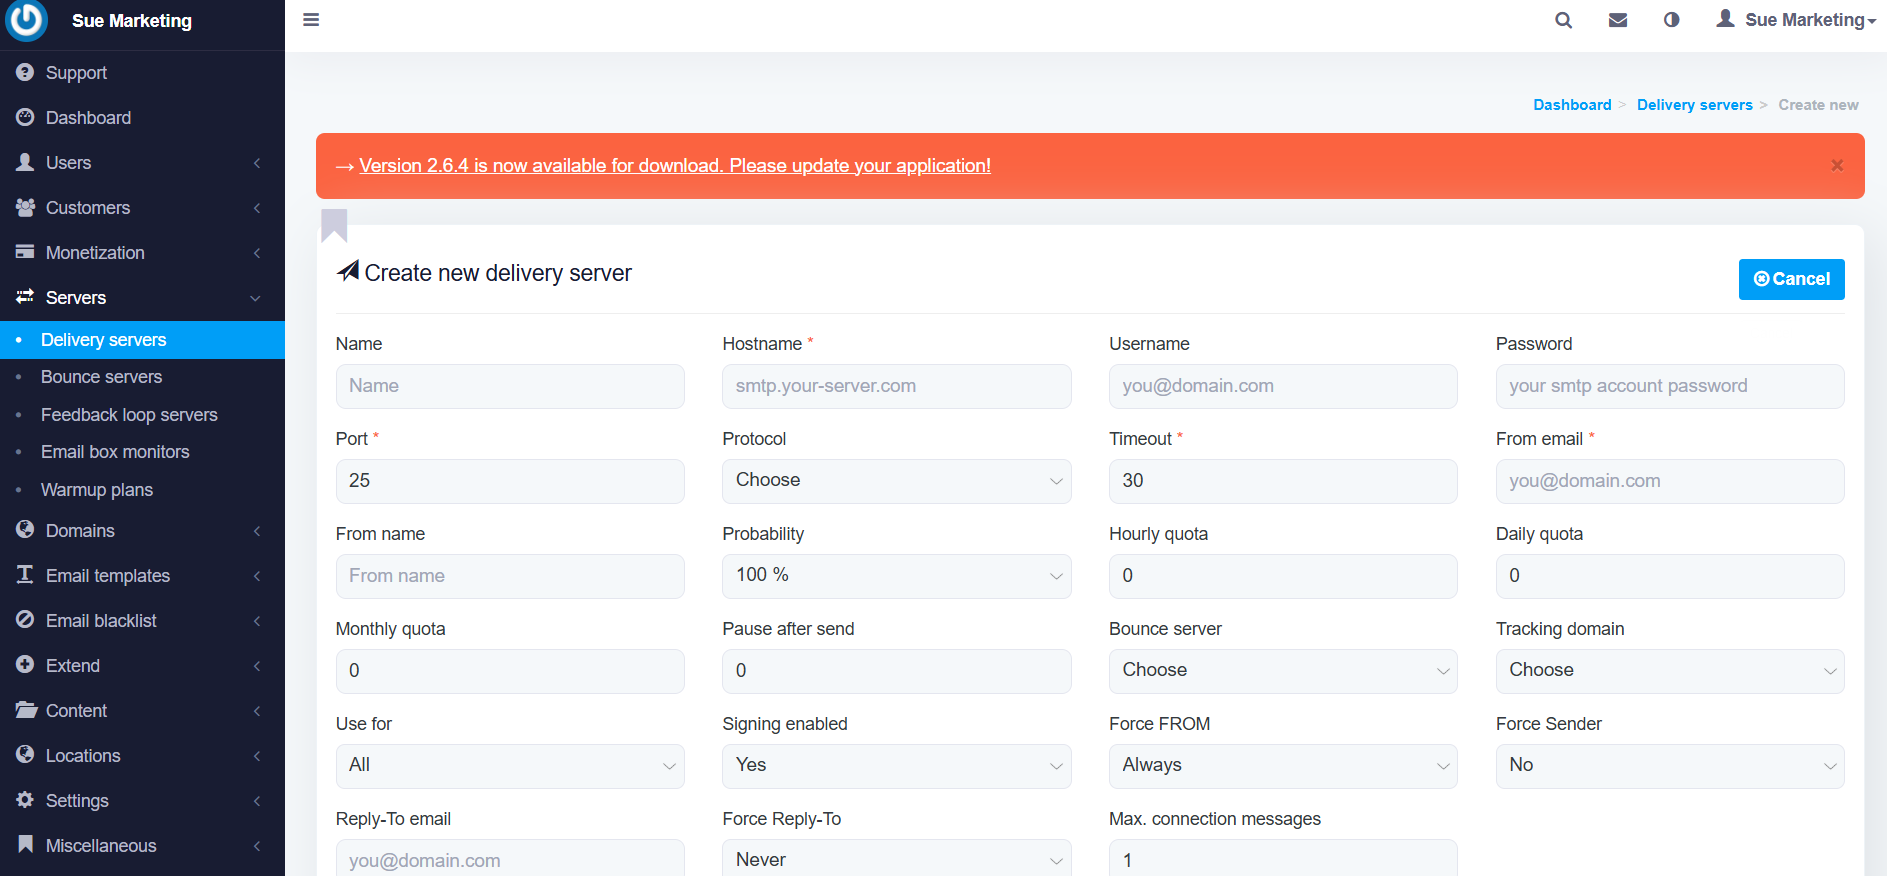
- Go to the sidebar and click on “Servers” > “Delivery Servers.”
- Add a New SMTP Server:
- Click on “Create New Delivery Server.”
- Fill in the required fields:
- Name: A recognizable name for the server.
- Hostname: Example:
smtp.freethemesupport.comor176.31.130.160. - Port: Use
2525. - Username: Example:
freethemesupport.com. - Password: Example:
GA974md. - From Email: Use any verified email like
anyname@freethemesupport.com. - Protocol: Choose “None” for no SSL.
- Daily/Hourly Quotas: Configure based on your requirements.
- Save and Test:
- After filling in all fields, click “Save.”
- Test the server to ensure it’s configured correctly.
How to Add a Bounce Server
- Navigate to Servers:
- Click on “Servers” > “Bounce Servers.”
- Add a New Bounce Server:
- Click on “Create New Bounce Server.”
- Fill in the fields:
- Name: Recognizable name for the bounce server.
- Hostname: Example:
imap.domain.com. - Service: Select “IMAP.”
- Port: Use
143. - Username and Password: Enter your credentials.
- Protocol: Choose “NOTLS.”
- Save and Test:
- Save the configuration and test its functionality.

Steps to Create and Manage Clients
- Add New Clients:
- Go to “Customers” in the sidebar.
- Click on “Add New Customer.”
- Fill in details like name, email, and contact information.
- Lock SMTP for Clients:
- Assign specific SMTP settings to each client under their profile.
- Restrict modifications to ensure secure and consistent configurations.
- Client Login:
- Share login credentials with your clients so they can access their dashboard.
Creating Email Lists and Campaigns
- Create Email Lists:
- Navigate to “Lists” and click “Add New List.”
- Enter details like list name, description, and default sender information.
- Add Subscribers:
- Import subscribers from a file or add them manually.
- Schedule Campaigns:
- Go to “Campaigns” and click “Create New Campaign.”
- Select your email list, design your template, and schedule the campaign.
How to Improve Email Delivery
- Domain Verification:
- Verify sending and tracking domains to improve email authentication.
- Warmup Plan:
- Gradually increase sending volume using warmup plans.
- Use Multiple IPs:
- Utilize IP rotation to distribute email volume.
- Monitor Bounce Rates:
- Regularly check bounce servers to maintain a clean mailing list.
- Optimize Email Content:
- Use engaging subject lines and avoid spam trigger words.
Tutorial Video
To help you get started quickly, we’ve created a detailed video tutorial: Watch Tutorial Video
Sample SMTP Configuration
SMTP Details for Bulk Email (Example):
- SMTP Hostname:
smtp.freethemesupport.com (put your domain ) - SMTP Username:
username - SMTP Password:
password - SMTP Port:
2525 - SSL: None
- Additional IPs:
46.105.74.223, 176.31.130.160, etc.
Note: Replace sensitive details with your own verified information.
Why Choose Send Unlimited Email Web Mailer?
- Easy-to-use interface.
- Robust features for email marketing.
- Secure and scalable SMTP configurations.
- Comprehensive customer and campaign management.
Start enhancing your email marketing experience today with Send Unlimited Email Web Mailer!


