Once established, the installation process of a Simple Mail Transfer Protocol server is an inevitable necessity for any business or individual to be able to send emails reliably and with stability. An SMTP server is used as an email message relay—so you can send your emails from your application or email client. In this guide, we shall make a walk-through on how to set up an SMTP server and provide tips on how best to use it.
What Is an SMTP Server?
An SMTP server is simply an email server that manages and carries out e-mail submission. Primarily, its major task would be in acting as an agent for the mail delivery that sends an email, usually coming from one particular client to the recipient’s mail server. SMTP servers greatly fulfill the status of making sure all emails reach their targeted recipients by dealing with a queue of outgoing emails so that they are delivered in the right order.
Why Use an SMTP Server?
- Reliability: If you depend on using your own SMTP server to deliver emails, then you are assured that your messages would reach their destination and be received reliably.
- Delivery: If the SMTP servers are configured correctly to enhance the deliverability of your emails, then it is sure to end up in the inbox rather than the spam folder.
- Tracking: A few SMTP servers even allow you to track if your emails have been opened or clicked.
- Customization: Sending through your own SMTP server gives you the leeway to tweak your email settings to meet any authentication and security requirements.
Step-by-Step Guide to the Setup of an SMTP Server
Step 1: Choose Third Party SMTP Server Provider
Either host your own SMTP server or look for a third-party provider. Below are some of the popular third-party SMTP providers:
- Google Workspace
- SendGrid
- Mailgun
- Amazon SES
From the providers above, choose one that best serves your needs about services, pricing, and deliverability.
Step 2: Create Account
Account Creation: You have to go to the provider’s website for account creation.
Step 3: Define Your SMTP Settings
Access SMTP Settings: After you sign up for your account, you can find the SMTP settings in your account dashboard. Typically you’ll find there:
- SMTP Server Address (for example, smtp.yourprovider.com)
- Port Number (normally 587 for TLS or 465 for SSL)
- Username (your e-mail address)
- Password (email account password)
Security Settings: To specify the right security settings you want to use with the sending of mail:
- TLS/SSL: This provides your email server with the option of enabling TLS or SSL encryption thus securing all email communications.
- Authentication: Always make sure authentication is enabled. Without this feature, anyone would be free to access your mailbox using the actual SMTP connection with just your email address.
Step 4: Testing Your SMTP Server
Using an Email Client: With your preferred email client; whether it’s Outlook or Thunderbird, set up the application with the SMTP details that you have provided.
- Key in the SMTP server address and port number.
- Now input the email address and password for authentication.
Test Email: Now, with the email client set up, test an email to ensure your SMTP server is working.
Step 5 : Inclusion of SMTP in Application
You may be a developer who would like to hook up an application to an e-mail server. You can use libraries, depending on whatever programming language you are using:
- PHP: Use PHPMailer or SwiftMailer to send out an email.
- Python: Use smtplib to connect to a server and send out the emails.
- Node.js: Sending emails with Nodemailer from your Node.js application.
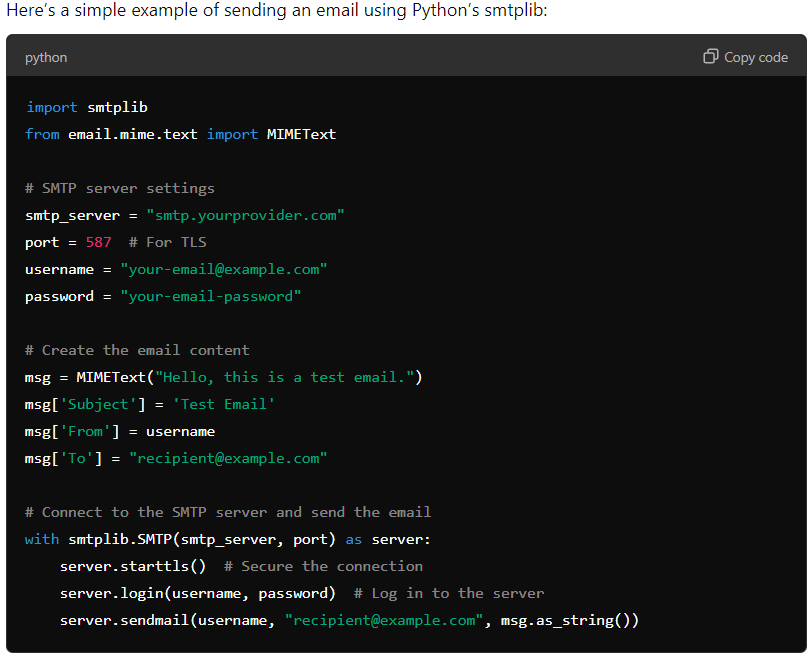
import smtplib
from email.mime.text import MIMEText

# SMTP server settings
smtp_server = "smtp.yourprovider.com"
port = 587 # For TLS
username = "your-email@example.com"
password = "your-email-password"

# Create the email content
msg = MIMEText("Hello, this is a test email.")
msg['Subject'] = 'Test Email'
msg['From'] = username
msg['To'] = "recipient@example.com"

# Connect to the SMTP server and send the email
with smtplib.SMTP(smtp_server, port) as server:
server.starttls() # Secure the connection
server.login(username, password) # Log in to the server
server.sendmail(username, "recipient@example.com", msg.as_string())
Step 6: Monitor Your SMTP Server
Now that you have configured your SMTP server, keep an eye on how it’s performing. Bounce rates, spam reports, and email logs should all be monitored.
- Bounce Rates: Follow the number of undelivered emails and bounced rates.
- Spam Reports: Watch if your emails are being reported as spam.
- Email Logs: Check your email logs in order to troubleshoot a reason.
Frequently Asked Questions
Can I use an SMTP server in sending my emails with my existing email account?
Yes, most email services (like Gmail and Yahoo) can use their SMTP servers. Many of these will limit outgoing sending, typically by the day.
What is the difference between SMTP and IMAP/POP3?
SMTP is the protocol to send mail. IMAP and POP3 are two different protocols to receive the mail. IMAP allows you to access emails from any device, whereas POP3 downloads emails to your device.
Is it safe using the SMTP server?
Technically, if correctly configured with SSL/TLS encryption, it is safe to use this. Always use a secure setting and authenticate your account. Be sure not to allow unauthorized access.
What do I do if my emails are going to spam?
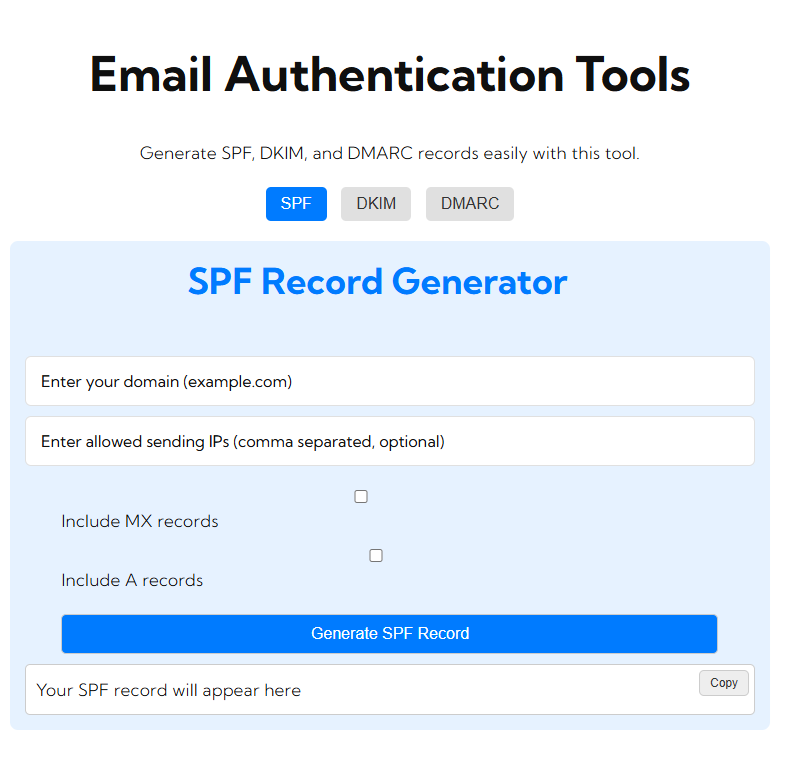
Make sure that you have proper authentication for your domain – SPF, DKIM, DMARC. Track and keep an eye on your sending reputation. Avoid spammy content in your emails as well.
Conclusion
This is a basic configuration that any email reliability and professionalism entrant needs to make. In this tutorial, you will see all the steps you need to know to configure a properly fitting SMTP server. And so, whether you will send emails from a client or from your application, one thing that will guarantee your effective communication is the reliability of sending those messages to their target recipients.