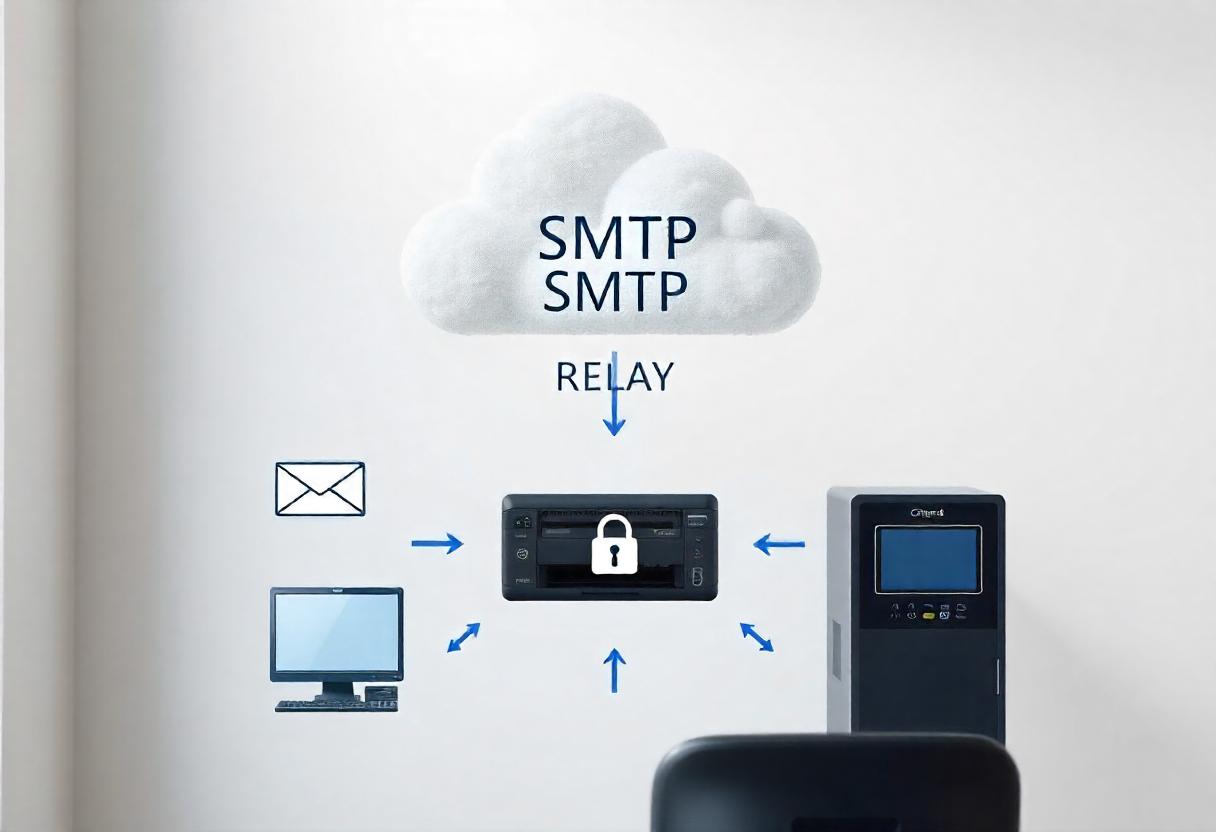
An SMTP relay in Office 365 is a necessity for business users who need to send emails from applications or devices such as printers, scanners, or point-of-sale systems without using a dedicated email client. An SMTP relay ensures that emails sent from these sources reach their intended recipients without being flagged as spam. This guide will assist you in setting up an SMTP relay in Office 365 so that you can effectively use its robust email infrastructure.
What is SMTP Relay?
SMTP (Simple Mail Transfer Protocol) relay lets you send emails from your application or device through an external mail server, which is Office 365. Using this method has its advantages, such as:
- Enhanced Deliverability: Emails sent by using Office 365 SMTP relay do not easily appear as spam.
- Reliability: It has a great uptime, and it includes inbuilt security.
- Streamlined Management: Centralize your sending process of email through a single interface.
Prerequisites
Before setting up SMTP relay in Office 365, you have to make sure that the following prerequisites are met:
- Active account for Office 365.
- Office 365 Administrator access.
- Domain that has been verified in Office 365.
- Office 365 SMTP server setup.
How to Setup Office 365 SMTP Relay
Step 1: Obtain SMTP Information
The following information is required for the SMTP relay setup:
- SMTP Server: smtp.office365.com
- Port: 587. Use this port with TLS encryption.
- Authentication: Should be enabled. You will use your Office 365 credentials.
- Encryption: StartTLS should be enabled.
Step 2: Set up a Connector in Office 365
- Sign in to the Microsoft 365 Admin Center:
Go to admin.microsoft.com. - Access the Exchange Admin Center:
From the left menu, go to Admin centers, and click on Exchange. Go to Mail Flow. - Add a New Connector:
In the Exchange Admin Center, click on Mail flow and then click on Connectors. Click on the + icon to create a new connector. Choose From: Your organization’s email server and To: Office 365. Click Next. - Configure the Connector Settings:
Name your connector (e.g., “SMTP Relay Connector”). Optionally, add a description. Only once I created a transport rule that forwarded emails to this connector. Click Next. - Set IP Addresses:
If you’re using a device or an application with a fixed IP address, list the permitted IP addresses that will use this connector. You can also accept any IP address. This is not recommended for obvious security reasons. Click Next. - Review and Save:
Review your settings and create the connector.
Step 3: Configure Your Application or Device
Having now set up your SMTP relay connector in Office 365, it’s time to configure your application or device by using the settings provided below:
- Access your Application/Device settings:
You need to find the section about email sending settings; these are normally known as “Email Settings” or “SMTP Settings.” - Fill in SMTP Settings:
- SMTP Server: smtp.office365.com
- Port: 587
- Encryption Method: STARTTLS
- Authentication: The Office 365 username and password that is authorized to send emails
- Test the Configuration:
Start sending a test email from your application or device for it to work correctly. If everything is configured properly, an email should be delivered accordingly.
Step 4: Monitor and Troubleshoot
Once configured, there is a need to monitor the email delivery and troubleshoot any issues:
- Check the email log trace: Use message trace in the Exchange Admin Centre for emails sent.
- Check the Connector: Ensure authentication methods and IP addresses are correct.
- Check the Spam/Junk Folder: Sometimes the sent emails get delivered in the spam/junk folder. Update users to look there if they are unable to receive the emails.
Best Practices for SMTP Relay in Office 365
- Use Strong Passwords: Always use a good and highly secure password on accounts that will authenticate your relay SMTP.
- IP Address Only: Limit access on the connector and apply to specific IP addresses for security.
- Monitor Traffic Emails: Keep an eye on the email log concerning irregular activities.
- Educate Users: Ensure that users know where to look for emails sent using the relay, mainly those that are transactional in nature.
Configuring an SMTP relay in Office 365 can enhance your organization’s email sending capabilities. This is achieved by following the steps mentioned above, ensuring that emails from devices or applications are delivered reliably to recipients. Remember to follow security practices and review your configurations regularly for optimal performance.
FAQs
1. What is the maximum email size I can send through Office 365 SMTP Relay?
The maximum size for an email is usually 150 MB including attachments, but it may differ depending on your Office 365 plan.
2. Is SMTP relay used in sending bulk emails?
Yes, it is possible to use SMTP relay for sending bulk emails. Please take note of the limit in sending and observe proper practices to avoid being marked as spam.
3. Do I need to know when my IP address changes?
Normally, if you have a dynamic IP address, you would be expected to update your connector settings based on the new IP address. A static IP address would be more reliable, however.


