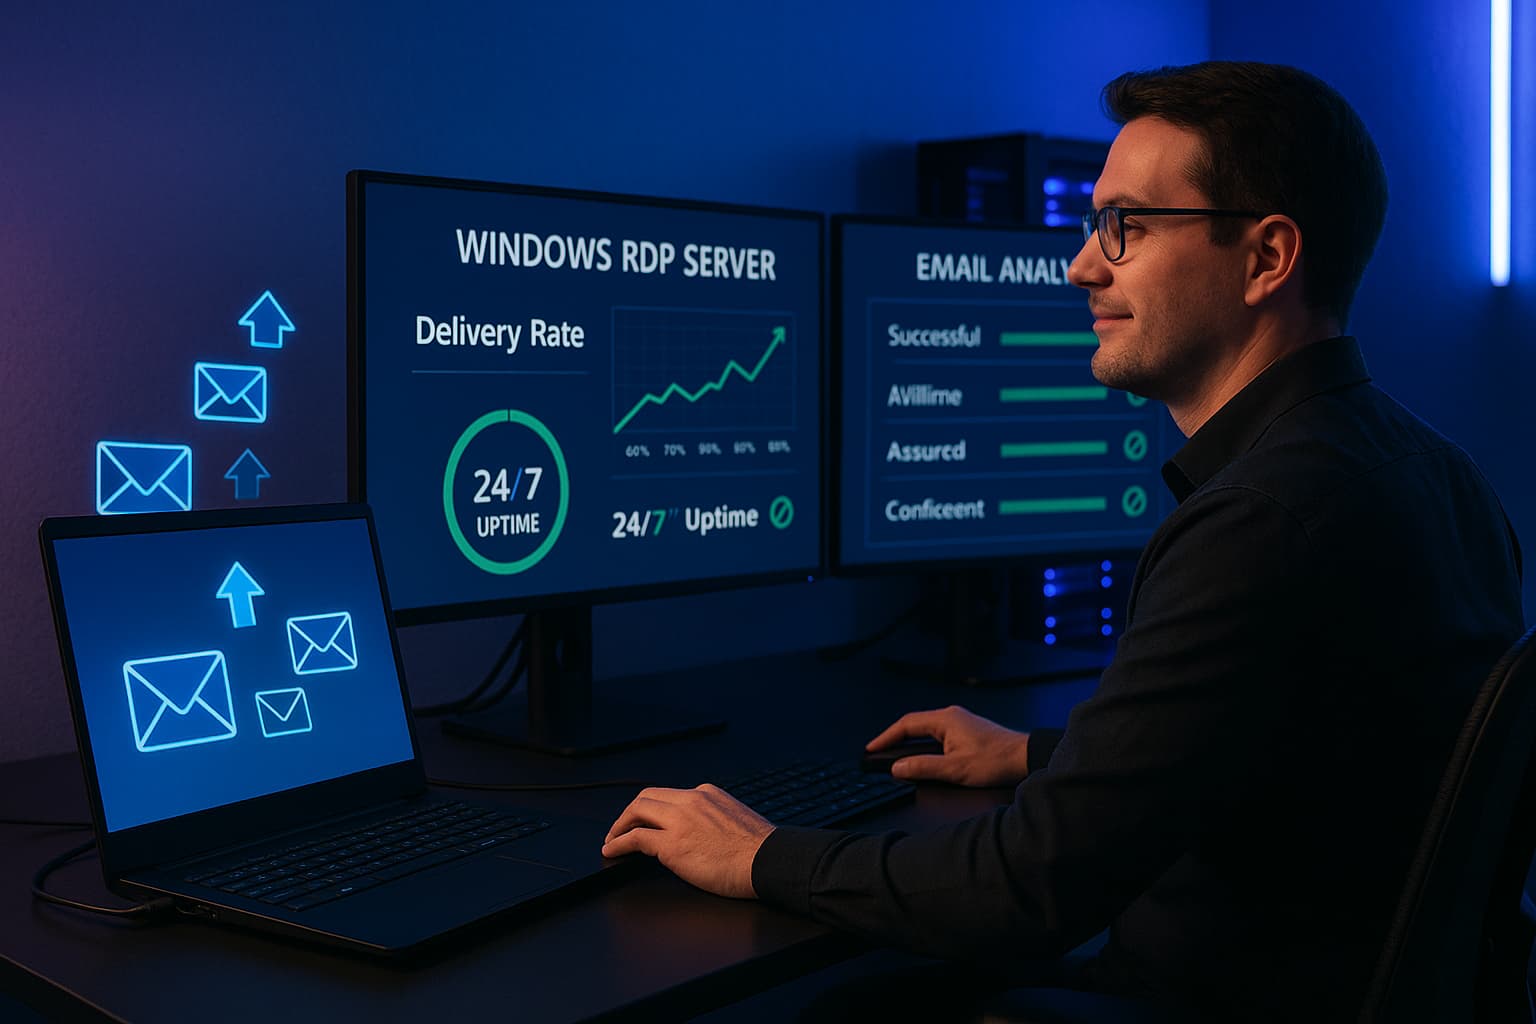
Setting up an SMTP relay on a Windows Server involves configuring the built-in SMTP server feature in Windows. This guide will walk you through the process step-by-step, allowing you to relay emails through your Windows Server effectively.
What is an SMTP Relay?
An SMTP relay allows you to send emails through a third-party or dedicated mail server instead of your ISP’s SMTP server. This is particularly useful for businesses that need to send large volumes of emails or require more control over their email delivery.
Prerequisites
- Windows Server: Ensure you have a Windows Server installed (Windows Server 2012, 2016, 2019, or later).
- Administrative Access: You need administrative rights on the server.
- Static IP Address: It’s recommended to use a static IP address for the server.
- Domain Name: A registered domain to send emails from.
Step-by-Step Guide to Setting Up SMTP Relay on Windows Server
Step 1: Install the SMTP Server Feature
- Open Server Manager:
- Click on the Start menu, and select Server Manager.
- Add Roles and Features:
- In Server Manager, click on Manage > Add Roles and Features.
- Select Role-Based or Feature-Based Installation:
- Click Next.
- Choose the Server:
- Select your server from the server pool and click Next.
- Select Server Roles:
- Expand Web Server (IIS), then expand Web Server.
- Check Application Development, then check SMTP Server.
- Click Next until you reach the Install button.
- Install the Feature:
- Click Install and wait for the installation to complete.
Step 2: Configure the SMTP Server
- Open Internet Information Services (IIS) Manager:
- Click on the Start menu, type IIS, and select Internet Information Services (IIS) Manager.
- Open the SMTP Server:
- In the left pane, expand your server’s node.
- You should see SMTP Server listed. Right-click on it and select Properties.
- Configure General Settings:
- In the General tab, ensure the SMTP server name is correct (usually your domain name).
- Set Up the Delivery Tab:
- Click on the Delivery tab.
- Click on Outbound Security:
- Select Basic Authentication if you plan to relay emails securely with a username and password.
- Enter the username and password you will use to authenticate.
- Configure Advanced Delivery:
- In the same Delivery tab, click on Advanced.
- Set the Smart Host to your SMTP relay server (if using an external SMTP service). For example, if using Gmail, it might be
smtp.gmail.com. - Set the Outbound Connection Timeout (e.g., 30 seconds).
Step 3: Configure the Relay Settings
- Open Relay Restrictions:
- Still in the Delivery tab, click on Outbound Security.
- Click on Relay and then click on the Add button to add IP addresses that are allowed to relay through your server.
- If you want to allow relaying from any IP address, you can do so but be cautious as it may lead to abuse. It’s best to specify trusted IP addresses.
- Set Up DNS Records:
- Ensure that your DNS settings are configured to point to your SMTP server’s IP address.
- Add an MX record for your domain that points to your SMTP server.
Step 4: Configure Firewall Settings
- Allow SMTP Traffic:
- Ensure that port 25 (default SMTP port) is open in your server’s firewall settings.
- Open Windows Defender Firewall with Advanced Security.
- Click on Inbound Rules > New Rule.
- Choose Port, click Next, select TCP, and specify port 25.
- Allow the connection, and apply the rule to the necessary profiles (Domain, Private, Public).
Step 5: Test Your SMTP Relay Server
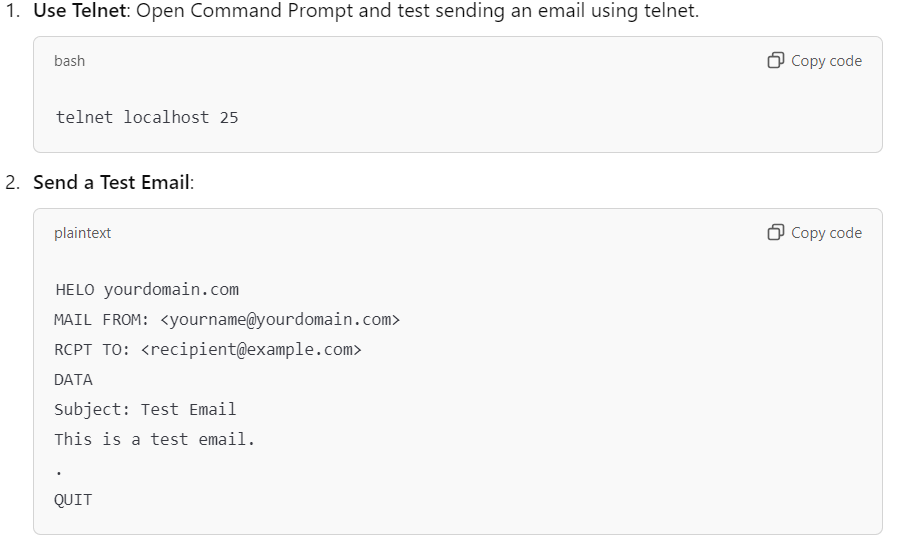
Check for Errors: If the email is not sent, check the SMTP logs for any errors. Logs can typically be found in C:\inetpub\logs\LogFiles.
Conclusion
Configuring an SMTP relay in Windows Server would work heavily to enhance your email sending capability. With this how-to guide, you are able to configure the SMTP server and relay settings to be securely and efficiently sending the emails. Do not forget to regularly keep a watch on your server to stay optimal and secure.