Setting up an Office 365 SMTP relay server can prove quite an efficient method of sending email securely from your applications or devices, whether from printers and scanners to third-party software. Office 365 offers robust email services; if you know the right steps in setting it up as an SMTP relay, it may not prove so tricky after all.
What is an Office 365 SMTP Relay?
With an Office 365 SMTP relay, your device or application will be able to send mail through the Office 365 server. Among the advantages that you’ll get by using Office 365 for your SMTP relay are improved deliverability, enhanced security, and also centralized management of emails.
There are mainly three ways by which you can establish an SMTP relay with Office 365:
- SMTP Client Submission (Authenticated SMTP)
- Direct Send
- SMTP Relay using a Connector
Let us focus on one of the most common method being the SMTP Relay through a Connector as it is the most secure method to use and suitable to most businesses.
Prerequisites for Office 365 SMTP Relay Setup
You will need these to get started:
- Microsoft 365 account with admin privileges
- Access to DNS settings on your domain
- Static IP address for the device or server that will send out emails (optional but highly recommended for greater security)
Step 1: Office 365 Create a Connector
To create a connector to enable your email server to communicate with Office 365, follow these steps:
- Sign in to the Microsoft 365 Admin Center
- Admin Centers: Open Exchange to open the EAC.
- Mail Flow: Click on Mail Flow in the left sidebar of the EAC.
- Connectors: Click on Connectors.
- New Connector: Create a New Connector by clicking the + sign.
- Set the From field to Your organization’s email server and the To field to Office 365.
- Click Next.
Configure the Connector Settings
- Name: Give your connector a descriptive name, for example, SMTP Relay Connector.
- Use this connector only when emails are sent from one of these IP addresses: Enter the static IP address of the server or device that will be sending the emails.
Security Settings
- Enable TLS to encrypt your emails, which would then be secure communication.
- Configure the recommended settings to ensure that only authenticated emails pass through your server.
Check and Save
- Review your settings and then click the Create Connector button.
- Setup is complete for the connector. Your server or device can now send email through Office 365.
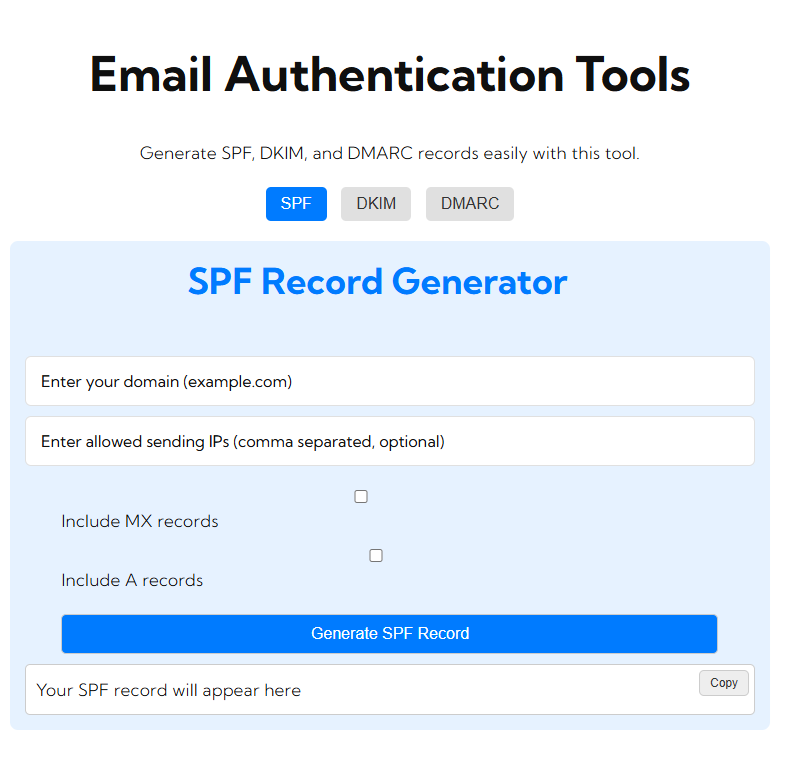
Step 2: DNS Configuration for SPF
Adding an SPF (Sender Policy Framework) record to your DNS settings stops mail from being flagged as spam by your SMTP relay. Here’s how to add or update the SPF record:
- Go to your domain’s DNS management console.
- Add or update your SPF record to include Office 365. Your SPF record should look like one of the following:

- Save your changes to your DNS records.
Step 3: Configure Your Device or Application to Use Office 365 SMTP Relay
Now that the connector is set up, you need to configure your device or application with these SMTP settings:
- SMTP Server: smtp.office365.com
- Port: 587 (TLS) or 25 (non-TLS)
- Encryption: StartTLS
- Authentication: Not required if you have configured the connector correctly.
Make sure that the device or application is sending from the static IP you defined within the connector settings.
Test the SMTP Relay
To test how your Office 365 SMTP relay is working, follow these steps:
- Send a test email from your device or application to a valid email address.
- Check the recipient’s inbox for whether the email arrived.
- If it doesn’t arrive, look for it in your spam or junk folder and check your SMTP relay settings.
Troubleshoot Common Problems
- Authentication Errors: Verify you have properly set up the connector and that you are not using authentication where it is not needed.
- Email Delivery to Spam Folder: Verify your SPF record is set up properly and your domain’s DNS settings are updated.
- IP Blocking: If your relay attempts are originating from a dynamic IP, then Microsoft 365 may block your relay attempts. Always use a static IP to avoid this situation.
Using Other Relay Options in Office 365
SMTP Client Submission (Authenticated SMTP)
- Requires you to authenticate using a valid Microsoft 365 email account.
- Use the following settings:
- SMTP Server: smtp.office365.com
- Port: 587 (TLS)
- Authentication: Required (Microsoft 365 username and password)
Direct Send
- Does not authenticate, but can send only to internal users (within your own organization).
- Uses the MX endpoint of your Office 365 domain:
- SMTP Server: yourdomain-com.mail.protection.outlook.com
- Port: 25
FAQs
Q1: Can I make bulk emailing with Office 365 SMTP relay?
No, Office 365 SMTP relay is not designed for bulk or mass email campaigns. For purposes like these, look into services like MailChimp or SendGrid.
Q2: How many emails can I send via Office 365 SMTP relay?
Office 365 limits sends to 10,000 emails per day and 30 messages per minute per user.
Q3: Do I need a static IP address for Office 365 SMTP relay?
While it’s not necessary, having a static IP address is highly recommended to avoid blockages and guarantee securely delivered, reliable email delivery.
Conclusion
One of the most efficient ways to manage and secure email communications is through establishing an Office 365 SMTP relay server. Proper configuration and connector setup will result in smooth email delivery with less chance of spam filtering. Always keep your DNS records updated and periodically test your setup to ensure email reliability.