This step is significant for businesses that mainly rely on mailing huge volumes of emails securely and efficiently. In this tutorial, we’ll guide you through all the steps involved in the setup of an SMTP relay, especially focusing on proper configuration so that it can send emails reliably. The readers for this article are from novices to at least some technical people.
SMTP Relay – What is it?
SMTP relay is a sending or receiving server that can forward emails from one domain to another. This mail helps create an intermediary for the email messages between two different servers. Implementing SMTP relay enhances your delivery rates, lowers spam marks, and provides security.
Why must you configure an SMTP relay?
Benefits of Configuration of an SMTP Relay
- Guaranteed delivery of your emails: This is less likely to end in the spam folder.
- Encryption and security: Your messages are encrypted as they travel and ensure your safe delivery.
- Scalability: Relaying at SMTP simplifies high output replies.
- Compliance: This helps you comply with the policies of sending e-mails.
How to Setup SMTP Relay
SMTP relay server – Step by Step Configuration
These are the steps to configure an SMTP relay server step by step.
SMTP relay service to choose
Before you can even start setting things up, you will need to choose a service provider. Among some of the most popular services you have:
- Google SMTP Relay If you’re already a G Suite user, this is probably the best.
- SendGrid. It scales very well, and they provide pretty solid email analytics.
- Mailgun. They are probably the friendliest developers.
- Amazon SES. So if you mail frequently, this is like the best thing for you.
Both have different settings and configurations, but it’s the same in most general ways.
Step 2: Set Up your DNS Settings
Configure your DNS settings to avoid being flagged as spammers:
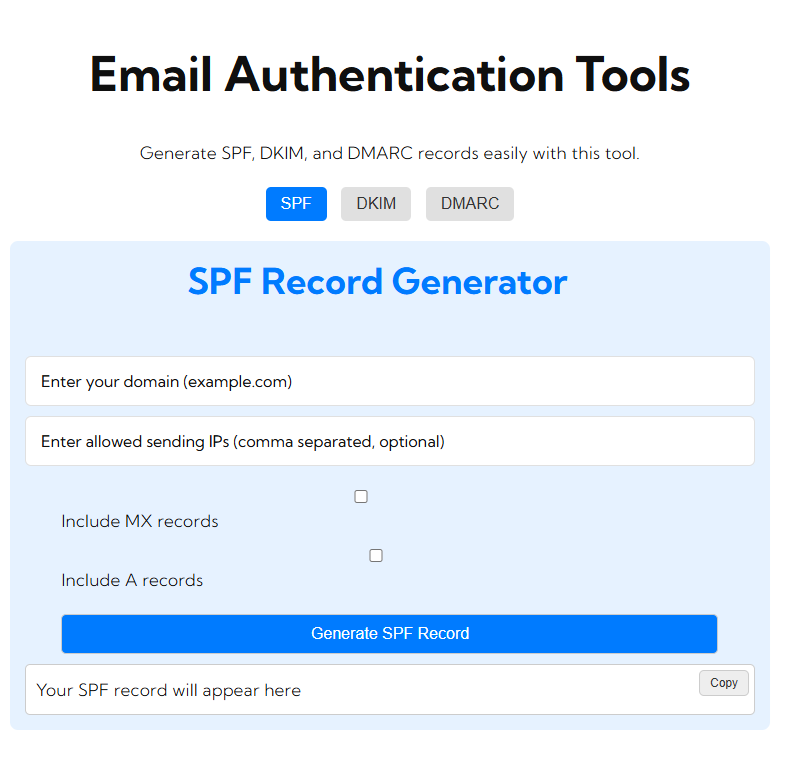
- Add an SPF (Sender Policy Framework) Record: It lists the approved IP addresses authorized to send emails from your domain.
- DKIM Record: It introduces a signature in the mails which increases security.
- DMARC: It gives you a report of who has made unauthorized uses of your domain.
These are the DNS configurations, which allow trust between your domain and the receiving end on the server.
Step 3: Ensure Verification of SMTP Relay Service
To be sure that only the authentication of the allowed users is enabled to send through your SMTP relay; follow the procedure below:
- Username and Password: Most relay SMTP services require you to have a username and password to authenticate with.
- API Keys: Of course, it’s also noteworthy that some services, like SendGrid, use API keys as a kind of more secure authentication.
Now that your SMTP relay service is authenticated, it accepts the email requests coming from your server.
Step 4: How to Add the SMTP Settings in Your Email Client
Finally, you must configure your email client using the SMTP relay. The typical SMTP setup is as follows:
- SMTP server: hostname of the SMTP service like smtp.sendgrid.net
- Port: either SSL/ 465 for TLS or 587 for TLS or SSL
- Username: Your email address or API key
- Password: Your account password or API key secret.
Setup these configurations in your email client or application so it will send emails via the relay.
Step 5: Testing Your SMTP Relay Setup
Testing your SMTP relay setup will mean everything will be fine, all configurations are good, and:
- End.
- Verify Headers: Confirm that your email did pass through the SMTP relay by inspecting the headers.
- Track Delivery Rates: Provided proper delivery rates, no controversy or dispute with the spam filters.
Once your email has been relayed successfully you’re ready to go with the SMTP relay setup!
Commons Troubleshooting
The process of an SMTP relay can sometimes incur a small hassle. That’s where some trouble can hide, along with how to resolve them:
- Authentication Errors
- Solution: Double-check and verify your username and password or API key configurations with those of your SMTP provider.
- Emails Going to Spam
- Solution: Ensure that your SPF, DKIM, and DMARC records are properly configured for your email authentication.
- Connection Timeouts
- Solution: Make sure, through your firewall or network settings, that you have a non-restrictive permission for outgoing communications on ports 587 and 465.
Best Practices for Use of an SMTP Relay
- Use SSL/TLS Encryption: Always use SSL or TLS to encrypt your email traffic.
- Email Metrics Monitoring: Track open rates, bounce rates, etc., to improve response on emails.
- Outgoing Email Limiting: Controls the number of emails allowed to be sent in a certain hour; you don’t want to be labeled as a spammer.
SMTP Relay Configuration FAQ
- What’s the difference between SMTP and SMTP relay? SMTP is what you use to send the emails, an SMTP relay is a service which sends your emails through the mail server of another domain to increase deliverability and security.
- Is a fee charged for using an SMTP relay service? Some providers give free tiers with a limited number of emails but others could charge according to the volume of emails you want to send out.
- Can I build my own SMTP relay server? You can go ahead and roll your own SMTP relay server. This is a pretty technical undertaking that requires to be maintained too.
- Emails blocked. Why on earth are they doing this even with SMTP relay? If your emails keep getting blocked then check on your SPF, DKIM, DMARC records and ensure you’re not sending too many emails in such a short period of time.
Conclusion
SMTP relay is easy to set up, but what it creates actually brings a big difference in the execution of business emails in a proper way. This makes sure that there is better email deliverability, an increase in security, and that all the policy implementations are followed in terms of sending messages. Continue with the steps of this guide in configuring your SMTP relay to ensure proper and uninterrupted communication through email.


